
Transforming a damp-ridden property into a welcoming home demands patience and precision, particularly when preparing walls for renovation. Moisture lurking within masonry not only hampers decorative work but also poses significant health risks and structural threats. Understanding the essential steps to dry damp walls thoroughly ensures that your renovation project proceeds smoothly, safeguarding both the aesthetic appeal and long-term integrity of your property. From pinpointing the source of unwanted moisture to implementing preventative measures, each stage plays a crucial role in restoring your walls to their optimal condition.
Identifying and Addressing the Source of Dampness
Detecting where the moisture originates
Before embarking on any drying process, it is imperative to identify precisely where the moisture is coming from. Rising damp, penetrating damp, and condensation each present distinct characteristics and require different approaches. Rising damp typically manifests as moisture travelling upwards from the ground through porous masonry, often leaving tide marks and salt deposits on lower sections of walls. Penetrating damp, on the other hand, results from water breaching the external fabric of the building, frequently due to defective roofing, damaged brickwork, or failed pointing. Condensation arises when warm, humid air meets cooler surfaces, leading to water droplets forming on walls and windows, especially in poorly ventilated spaces. Professional assessment using tools such as moisture metres, thermal imaging cameras, and salt analysis can provide an accurate diagnosis, ensuring that the root cause is addressed rather than merely treating the symptoms.
Repairing leaks and structural issues
Once the source of moisture has been identified, prompt action is essential to halt further ingress. Leaks from plumbing systems, roofing defects, or compromised guttering must be repaired immediately. Attempting to dry walls without first resolving these issues will prove futile, as fresh water will continue to seep into the masonry. Structural repairs might involve replacing damaged roof tiles, repointing brickwork, or sealing cracks in external walls. If rising damp is the culprit, installing or repairing a damp-proof course becomes necessary. This barrier, typically inserted at the base of walls, prevents ground moisture from ascending. Addressing these fundamental problems not only facilitates the drying process but also protects the property from recurrent damp-related complications and potential decreases in property value.
Improving airflow and ventilation throughout your property
Opening windows and installing fans
Enhancing ventilation is a cornerstone of effective moisture removal. Simply opening windows allows fresh air to circulate, displacing the stale, humid atmosphere that encourages dampness. Cross-ventilation, achieved by opening windows on opposite sides of a room or property, maximises airflow and accelerates the drying process. In addition to natural ventilation, installing extractor fans in moisture-prone areas such as kitchens, bathrooms, and utility rooms helps to expel humid air before it condenses on walls. Portable fans positioned strategically can also direct air towards damp patches, promoting evaporation. Consistency is key; maintaining good airflow over an extended period ensures that moisture levels gradually diminish, creating a healthier indoor environment and reducing the likelihood of mould growth.
Utilising dehumidifiers for effective moisture removal
Dehumidifiers serve as powerful allies in the battle against damp walls, actively extracting moisture from the air and, by extension, the surrounding surfaces. These devices work by drawing in humid air, condensing the water vapour, and releasing drier air back into the room. Operating a dehumidifier continuously until walls reach an acceptable dryness level can significantly expedite the drying process. It is advisable to empty the collection tank regularly and monitor humidity levels using a hygrometer to track progress. For larger properties or more severe cases, commercial-grade dehumidifiers may be necessary. Combining dehumidification with improved ventilation creates an optimal environment for moisture elimination, preventing the conditions that foster mould and ensuring that walls are adequately prepared for subsequent renovation work.
Preventing future damp problems
Installing damp-proof courses and waterproof coatings
Once walls have been dried and the immediate damp issue resolved, implementing preventative measures is crucial to avoid recurrence. Installing or upgrading a damp-proof course provides a long-term solution against rising damp, acting as a physical or chemical barrier that blocks ground moisture from ascending through masonry. Damp-proofing creams and dry rods can be introduced into the wall by drilling holes at regular intervals, creating an impermeable layer. Additionally, applying waterproof coatings to external walls enhances resistance to penetrating damp, shielding the fabric of the building from rain and environmental moisture. Internal surfaces may benefit from breathable, anti-condensation paints that regulate humidity levels and discourage mould formation. These proactive steps not only protect your investment but also contribute to a healthier living environment, free from the health risks associated with persistent dampness. For those seeking further guidance and resources on home improvement projects, including damp treatment, it is worthwhile to visit casaxalon.es, where a wealth of practical advice and inspiration can be found.
Regular maintenance and monitoring
Preventing damp is an ongoing commitment that requires regular inspection and maintenance. Periodically checking gutters, downpipes, and roofing for blockages or damage ensures that rainwater is efficiently directed away from the property. Inspecting external walls for cracks, failed pointing, or damaged render allows for timely repairs before moisture can penetrate. Internally, monitoring humidity levels and ensuring adequate ventilation in high-moisture areas reduces the risk of condensation. Keeping records of any damp issues, treatments applied, and professional inspections provides valuable documentation, particularly if selling the property or seeking legal protection. Scheduled aftercare, as offered by reputable specialists, ensures that any emerging problems are swiftly addressed, maintaining the long-term health of your walls and safeguarding your property's value.
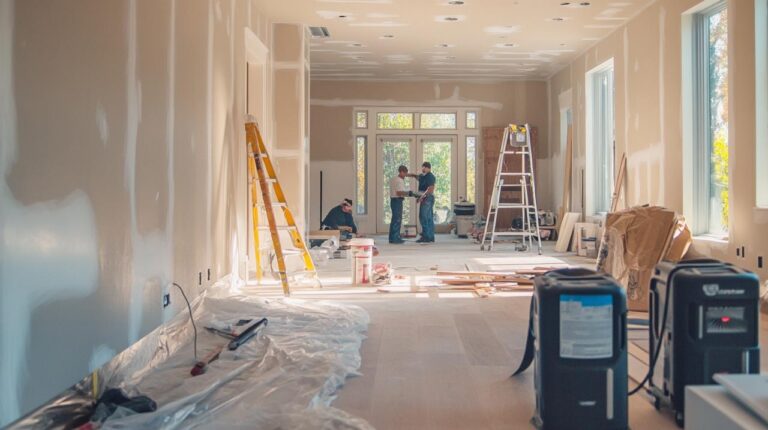
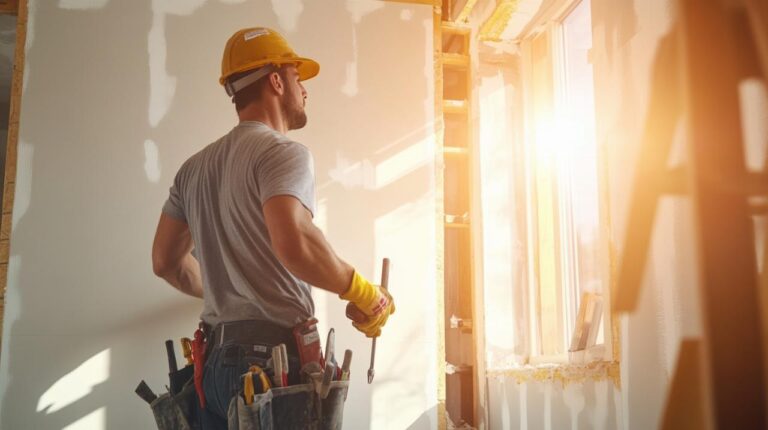
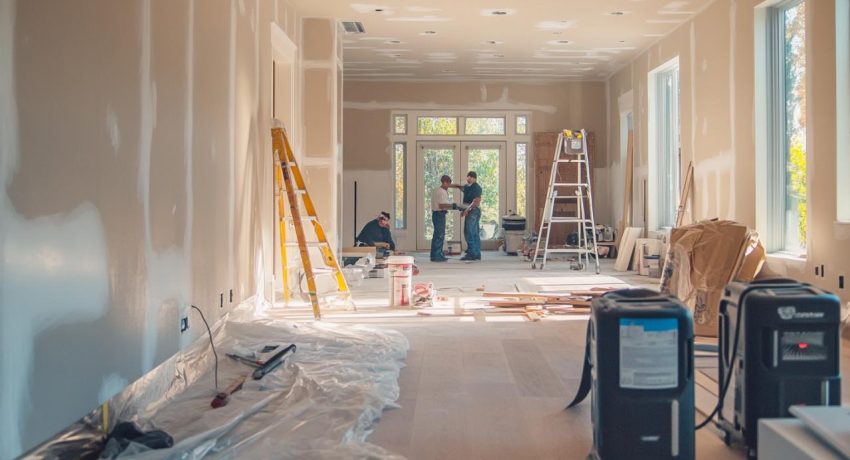
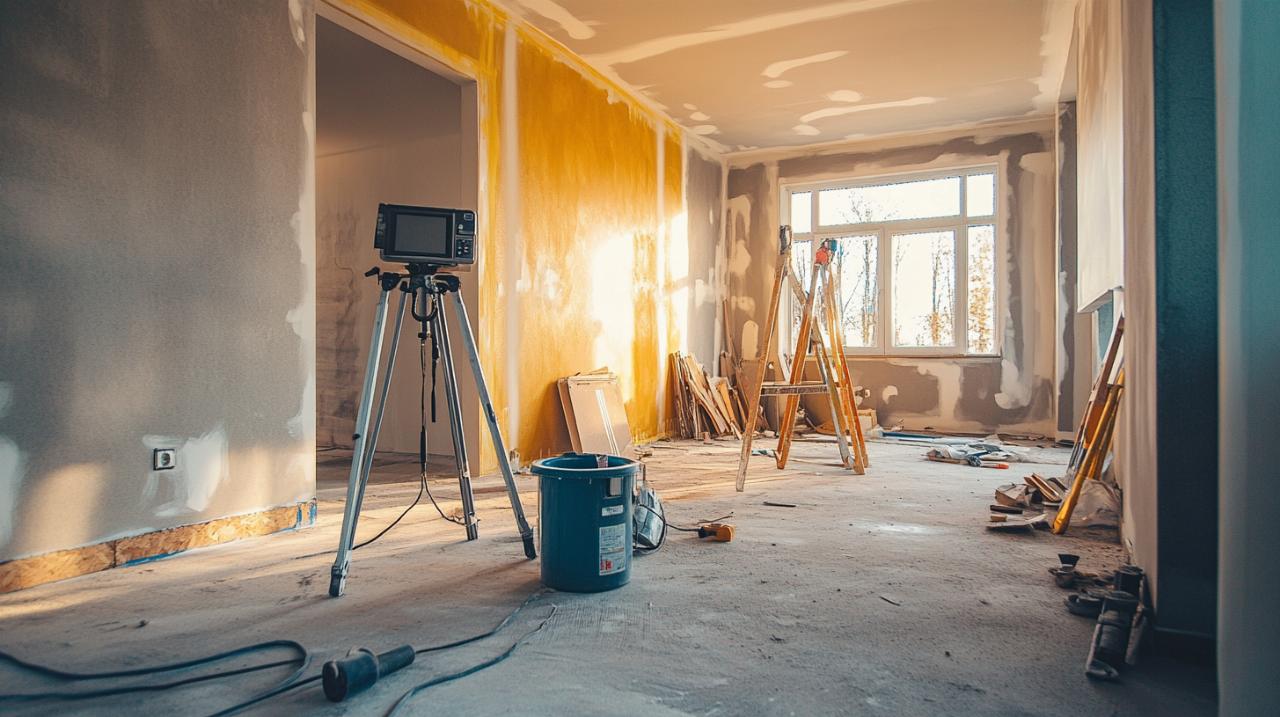
Preparing walls for renovation work
Treating and removing mould growth
Damp conditions often encourage the proliferation of mould, which can pose serious health risks and compromise the success of renovation projects. Black mould, in particular, is harmful and must be thoroughly eradicated before any decorative work begins. Treating affected areas with a specialised mould-killing solution is essential, ensuring that spores are neutralised and surfaces are clean. It is important to wear protective equipment, including gloves and a mask, during this process to minimise exposure to potentially harmful substances. Once the mould has been treated, the area should be allowed to dry completely. In cases where mould has deeply penetrated plaster or other building materials, removal and replacement may be necessary to eliminate the source entirely and prevent future outbreaks.
Ensuring walls are thoroughly dry before starting
Patience is paramount when preparing walls for renovation. Rushing to commence decorative work on walls that remain damp will result in peeling paint, lifting wallpaper, and a recurrence of mould, ultimately wasting time and resources. The drying process can take considerable time, depending on the severity of the dampness, the type of building materials involved, and environmental conditions. Utilising moisture metres to measure residual moisture levels within the walls provides objective evidence of readiness. Walls should be bone dry before any painting, plastering, or re-plastering begins. If damp has caused significant damage to existing plaster, re-plastering may be necessary to restore the surface to a suitable standard. Never paint over damp walls; doing so will trap moisture, creating vapour traps that exacerbate the problem and undermine the integrity of your renovation. By allowing ample drying time and confirming dryness through professional tools, you ensure that your renovation efforts yield lasting, beautiful results.