
Transforming the interior of your home with fresh walls or ceilings need not be an overwhelming task, especially when armed with the right knowledge and a methodical approach. Whether you are embarking on a full-scale renovation or simply refreshing a single room, understanding the fundamentals of plasterboard installation can save both time and money while delivering a professional finish. This guide walks you through every stage, from initial preparation to the final sanding, ensuring your project progresses smoothly and efficiently.
Preparing for your plasterboard installation
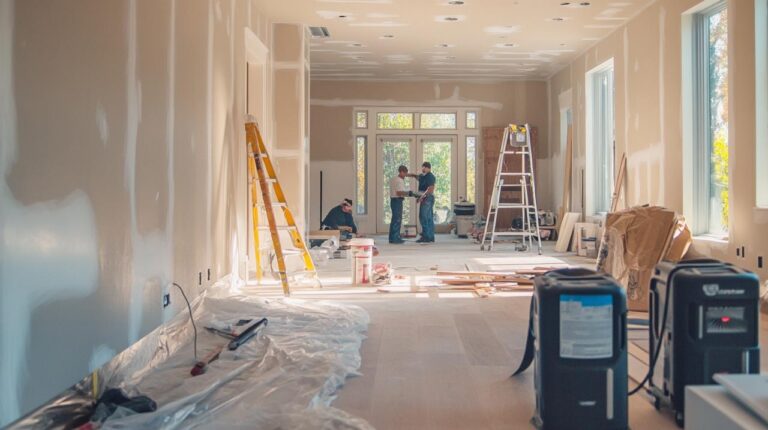
Before any sheet touches a wall or ceiling, thorough preparation is the cornerstone of a successful installation. This stage involves not only gathering the necessary tools and materials but also ensuring that measurements are precise and that every cut is executed with care. Taking the time to prepare properly will prevent costly mistakes and reduce the likelihood of rework later in the project. It is during this phase that you lay the groundwork for a seamless and durable finish, setting the stage for everything that follows.
Accurate measuring and cutting techniques
Measuring accurately is perhaps the most critical step in the entire process. The adage of measuring twice and cutting once holds particularly true when working with gypsum panels, as even a small error can result in ill-fitting pieces and wasted material. Begin by carefully measuring the height and width of the area where the plasterboard will be installed, taking into account any irregularities in the existing structure. When cutting, it is advisable to make the panel slightly shorter than the full measurement, typically by around a quarter of an inch, to allow for minor adjustments during fitting. This small gap helps accommodate any unevenness and prevents the sheet from buckling or cracking when secured. Use a sharp knife or a dedicated plasterboard saw to score and snap the panel along your marked lines, ensuring clean edges that will sit flush against adjacent boards. For areas around windows, doors, and electrical outlets, mark the positions clearly and cut with precision, as these details will be highly visible once the installation is complete. If you are sourcing your materials locally, consider visiting reputable suppliers in Leicester that offer a comprehensive range of internal and external doors, fire doors, and associated accessories, along with competitive pricing and delivery options. Many such suppliers also provide a price match promise and interest-free payment plans, making it easier to stay within budget while obtaining quality materials.
Essential tools and materials checklist
Equipping yourself with the right tools and materials before you begin will streamline the installation process and help you achieve a professional result. Essential items include a reliable drill, a screwdriver, a spirit level, a tape measure, a chalk line, and a drywall saw. Safety glasses are a must to protect your eyes from dust and debris, while a sturdy step ladder or drywall lift will prove invaluable when working on ceilings or high walls. A T-square will assist in marking straight lines, and a screw gun will ensure that screws are driven to the correct depth without damaging the paper surface of the board. In terms of materials, you will need sufficient drywall sheets in the appropriate thickness for your project. In the UK, standard thicknesses are nine and a half millimetres and twelve and a half millimetres, with panel sizes ranging from nine hundred millimetres up to two thousand four hundred millimetres in height. Additionally, stock up on drywall screws, drywall nails, and drywall tape, as these will be required for securing and finishing the panels. Having all these items at hand before you start will prevent interruptions and keep the project moving forward efficiently. Many trade suppliers offer free delivery on orders exceeding five hundred pounds, making it economical to purchase everything you need in one go. Some even provide a ten-year guarantee on certain products, giving you peace of mind regarding the quality and longevity of your investment.
Fixing plasterboard panels to your framework
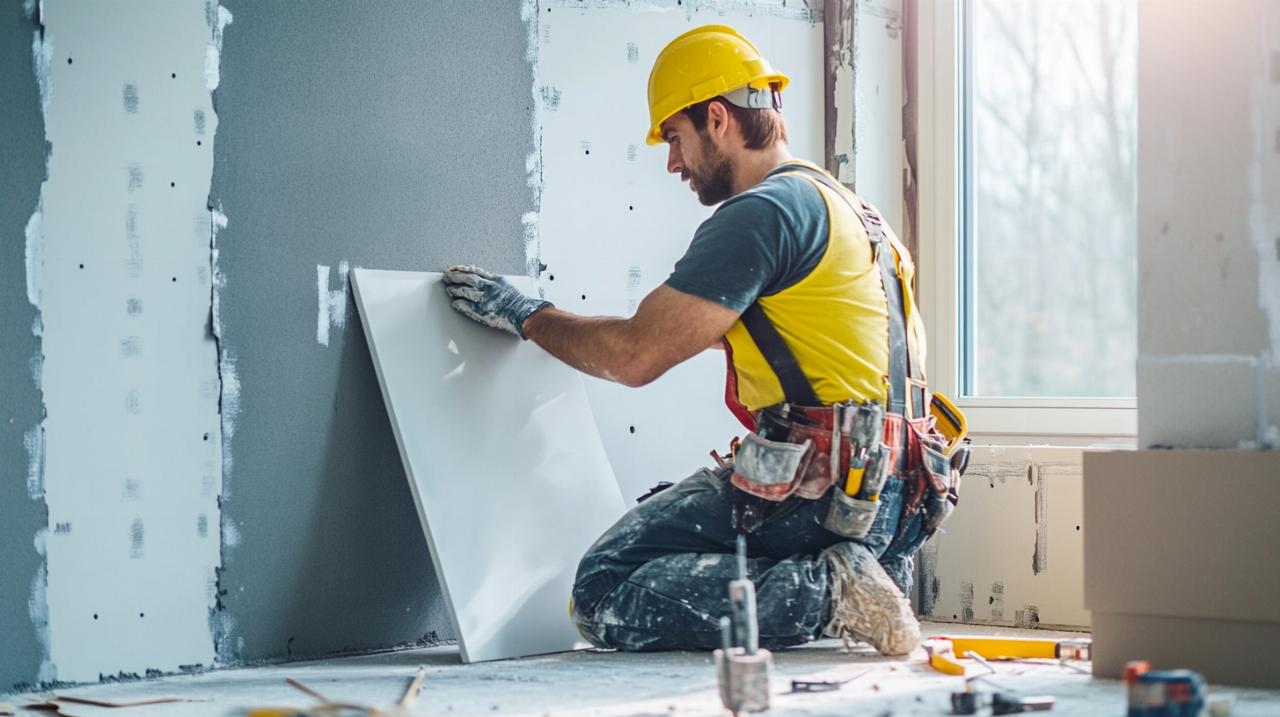
Once all the preparatory work is complete, the next stage involves securing the plasterboard panels to the underlying framework of studs or joists. This is where the installation truly takes shape, and attention to detail is paramount. Proper fixing techniques not only ensure that the panels remain securely in place but also contribute to the overall structural integrity and aesthetic quality of the finished surface. Understanding the correct placement of screws and the importance of staggering joints will help you avoid common pitfalls and achieve a result that is both durable and visually appealing.
Proper screw placement and stud location
Identifying the location of studs or joists is the first step in securing your plasterboard panels effectively. Use a stud finder or tap along the wall to listen for the solid sound that indicates a stud behind the surface. Once located, mark these positions clearly with chalk or a pencil, as they will serve as the fixing points for your screws. When hanging panels on a ceiling, it is generally recommended to position them perpendicular to the joists wherever possible, as this orientation provides greater support and reduces the risk of sagging over time. For walls, especially in residential projects, a horizontal installation is often preferred because it minimises the number of seams, hides any unevenness in the studs, and makes subsequent taping and finishing more accessible. As you position each sheet tightly against the ceiling or adjacent wall, begin securing it with drywall screws spaced approximately thirty to forty centimetres apart. It is important to work from the middle of the panel outwards to avoid creating bulges or distortions. Drive each screw just deep enough to create a small dimple in the paper surface without tearing through it. Over-tightening can compromise the integrity of the board and make finishing more difficult. If a screw protrudes or sits proud of the surface, drive it slightly deeper to ensure a smooth, even plane across the entire wall or ceiling. This careful attention to screw placement will pay dividends when it comes time to apply joint compound and prepare the surface for decoration.
Staggering joints for enhanced structural integrity
Staggering the joints between adjacent panels is a crucial technique that enhances both the strength and appearance of your installation. Rather than aligning the edges of each sheet in continuous vertical or horizontal lines, offset them so that the seams do not run unbroken across the entire wall or ceiling. This approach distributes stress more evenly across the framework and reduces the likelihood of cracks forming along the joints as the building settles or experiences minor movements. When planning the layout, aim to position the joints over the centre of studs or joists, ensuring that each edge has a solid fixing point. For areas where panels meet at corners or around door and window openings, take extra care to cut accurately and allow for any necessary adjustments. Outside corners should be finished with a slight overhang, which will later be protected by a corner bead to prevent damage and provide a clean, professional edge. When installing a ground row of panels, leave a gap of approximately half an inch above the floor to accommodate flooring materials and to prevent moisture from wicking up into the plasterboard. This small gap also allows for natural expansion and contraction, reducing the risk of cracking over time. By paying close attention to the placement and staggering of joints, you will create a robust and visually seamless surface that forms the perfect foundation for the finishing stages of your project. For those seeking additional guidance or professional assistance, there are numerous resources available online, including detailed tutorials and expert advice from trusted sources such as villaauristela.es, which offers valuable insights into home improvement and interior design.
Finishing Touches for a Professional Result
With all the panels securely fixed in place, the final phase of the installation focuses on achieving a smooth, flawless surface that is ready for decoration. This stage involves taping and filling the joint seams, sanding down any imperfections, and preparing the surface for painting or wallpapering. Although these tasks can be somewhat messy and require patience, they are essential for transforming the raw plasterboard into a polished, professional finish that will enhance the overall appearance of your home.
Taping and filling joint seams
Taping and filling the seams between panels is a critical step that ensures a smooth transition from one sheet to the next. Begin by applying a thin layer of joint compound along the seam using a broad-bladed knife, spreading it evenly to fill any gaps or indentations. Next, press a length of drywall tape firmly into the compound, smoothing it out from the centre towards the edges to eliminate any air bubbles or wrinkles. Once the tape is securely embedded, apply a second coat of compound over the top, feathering the edges outwards to blend seamlessly with the surrounding surface. It is important to allow each coat to dry completely before applying the next, as rushing this process can result in a poor finish. Depending on the depth of the seams and the quality of your initial application, you may need to apply two or three coats to achieve a perfectly level surface. The same technique should be used to fill the dimples left by the screw heads, ensuring that no fasteners are visible once the surface is decorated. For inside corners, use a corner trowel to create a neat, crisp line, while outside corners should be reinforced with a metal or plastic corner bead before applying the joint compound. This extra layer of protection helps prevent damage and provides a guide for achieving a straight, even edge. Throughout this process, take care to work methodically and clean your tools regularly to avoid introducing lumps or imperfections into the compound. The effort you invest in taping and filling will be rewarded with a surface that is not only structurally sound but also aesthetically pleasing.
Sanding and Surface Preparation for Decoration
Once the joint compound has fully cured, the next task is to sand the surface to remove any ridges, bumps, or excess material. This step is essential for creating a smooth, even plane that is ready to receive paint or wallpaper. Use a fine-grit sandpaper or a sanding block, working gently over the filled seams and screw dimples to blend them seamlessly with the surrounding plasterboard. It is advisable to wear a dust mask and safety glasses during this stage, as sanding generates a considerable amount of fine dust that can irritate the eyes and respiratory system. To minimise mess, consider using a sanding sponge or an electric sander with a dust extraction system. As you work, periodically run your hand over the surface to check for any remaining imperfections, addressing them as needed with additional compound and further sanding. Once you are satisfied that the surface is smooth and free from blemishes, wipe down the entire area with a damp cloth to remove any residual dust. This final preparation step ensures that your chosen decorative finish will adhere properly and look its best. Whether you plan to apply paint, wallpaper, or another type of covering, the quality of the underlying surface will have a significant impact on the final result. By taking the time to sand and prepare thoroughly, you will achieve a professional standard that enhances the value and appearance of your home. For those undertaking larger projects or working on multiple rooms, it may be worth consulting with local tradespeople or suppliers in Leicester who can offer advice, competitive pricing, and fast delivery on materials. Many such businesses also provide comprehensive guarantees and are highly rated on platforms such as Trustpilot, giving you confidence in the quality of their products and services. With careful planning, attention to detail, and the right approach, installing plasterboard panels can be a rewarding and cost-effective way to transform your interior spaces and achieve the home of your dreams.